Flowers
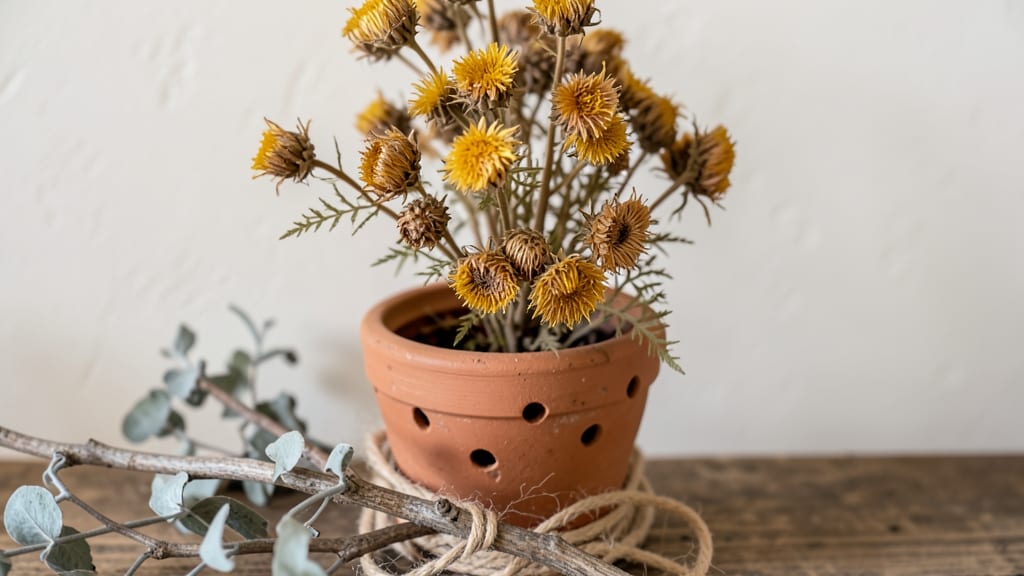
Your dry flowers wreath isn’t just decor—it’s a conversation starter that lasts for years. ✨ I’ve turned my garden’s spent blooms into heirloom-quality wreaths that smell like summer even in January, and you can too without fancy tools or a green thumb.
The magic starts with selecting flowers that dry well—think lavender, baby’s breath, or wheat stalks—then letting nature do the rest.
This project takes about 2 hours from gathering to hanging, and the best part? You can use flowers you’ve grown yourself or foraged from fields. Dried flowers hold their shape and color for years, so your wreath will look as good in December as it did in June.
The supplies are simple: a grapevine or foam base, floral wire, and a few basic tools you likely already own.
Imagine stepping outside to find your porch adorned with a wreath that smells faintly of lavender and looks like it belongs in a country magazine. The texture is soft under your fingers, the colors rich and true, and the best compliment?
"How did you do this?" You’ll get that every time someone sees it. Let’s get started with the flowers you already have.
Works year-round with seasonal swaps—spring for peonies, fall for sunflowers—and adapts to any style from rustic to romantic. The only limit is your imagination (and how many flowers you can dry before next year’s harvest).
📚 In This Guide
- What you need
- Instructions
- Tips and common mistakes
- Wrapping up and next steps
What you need
- ● Dried flowers: Choose a mix of textures and colors (e.g., baby’s breath, statice, dried roses, lavender, or eucalyptus). Aim for 1.5–2 cups (adjust based on wreath size).
- ● Base structure: Garden wire (18–20 gauge, 10–12 feet) for wrapping the wreath frame.
- ● Graspable foam wreath base (12–18 inches in diameter) or a wire or grapevine wreath frame (pre-formed for easy assembly).
- ● Floral wire (22–24 gauge, 5–10 feet) for securing flowers.
- ● Floral tape or hot glue gun (with glue sticks) for extra hold.
- ● Scissors or floral shears for trimming stems/wires.
- ● Filler materials: Dried grasses, wheat stalks, or cinnamon sticks for texture.
- ● Ribbon or lace (for wrapping the wreath base or adding a bow).
- ● Spray adhesive (for securing lightweight flowers like baby’s breath).
- ● Paint or chalk (to customize a wooden or foam base).
- ● Small bells or charms (for a whimsical touch).
Step-by-step instructions for crafting a dry flowers wreath
Here's how to create a timeless wreath that keeps its beauty year after year.
🌿 Step 1: Gather and Prepare Your Materials
Start by collecting dried flowers, greenery, and a grapevine or wire base—these are the core elements of a lasting wreath. I like to use a 12-inch grapevine wreath base because it’s sturdy and adds natural texture. If you’re working with delicate dried flowers, gently separate stems from any remaining foliage to avoid bulkiness.
For added structure, include dried wheat stalks, eucalyptus, or dried lavender—these hold their shape and add dimension. Arrange your materials on a flat surface to visualize the wreath’s layout before securing anything. This step is all about balance, so don’t rush it.
💧 Step 2: Secure the Base and Begin Layering
Wrap the grapevine or wire base with floral wire to create a sturdy foundation. I start by wrapping the wire around the center of the base, leaving a tail to weave through the stems as I build. This keeps everything in place while allowing flexibility to adjust as you go.
Begin layering your dried flowers and greenery by weaving stems through the grapevine or securing them with wire. Work in sections, alternating between fuller flowers and lighter greens to create depth. Press stems firmly into the base so they don’t shift later—this is where patience pays off.
✂️ Step 3: Trim and Shape for Balance
Once the wreath is fully covered, step back and assess the shape. Trim any overgrown stems or uneven sections with sharp floral shears to create a smooth, rounded silhouette. I like to leave a few stems slightly longer at the bottom to mimic a natural, organic look.
Adjust the placement of flowers to fill any gaps—sometimes a single bloom can tie together loose sections. If using wire, gently bend stems to fill empty spaces without breaking them. This is the moment to refine your wreath’s elegance.
☀️ Step 4: Seal and Display Your Wreath
To preserve your wreath’s freshness, lightly mist it with floral preservative spray (optional but recommended for longevity). This step is especially helpful if you’re using dried flowers that might lose their color over time. Let it dry completely before hanging.
Attach your wreath to a wall hook, door, or mantel using a sturdy ribbon or wire. Display it in a spot where it can be admired year-round—its natural beauty will only grow more charming with time. Real talk: the best part is knowing it’ll stay lovely for seasons to come.
Tips & tricks for perfect dry flowers wreaths
Between us, these little details make all the difference between a wreath that fades in weeks and one that stays stunning for years.
Selection Tip: When choosing dried flowers, look for blooms with tightly closed petals—they’ll hold their shape longer. Avoid overly delicate varieties like baby’s breath, which can crumble when handled. For greenery, dried eucalyptus and lavender are my go-tos because they maintain their color and texture beautifully.
The Technique That Changed Everything: In Step 2, when wrapping your floral wire around the grapevine base, leave that tail long enough to weave through multiple stems. This hidden anchor prevents flowers from shifting later. I like to wrap the wire in a figure-eight pattern for extra stability—it creates a crisscross effect that holds everything securely.
Preservation Wisdom: That optional floral preservative spray in Step 4 isn't just a nice idea—it's a game-changer. Spray it lightly (about 4-5 inches away) and let it dry completely before hanging. For extra protection, place your finished wreath in a dry, shaded spot for 24 hours before display. This helps set the preservative and prevents any potential moisture from affecting the dried materials.
Pro Tips for Dry Flowers Wreath
- Between us, these little details make all the difference between a wreath that fades in weeks and one that stays stunning for years.
- Selection Tip: When choosing dried flowers, look for blooms with tightly closed petals—they’ll hold their shape longer.
- The Technique That Changed Everything: In Step 2, when wrapping your floral wire around the grapevine base, leave that tail long enough to weave through multiple stems.
Frequently asked questions
Got questions about crafting or styling your dry flowers wreath? You’re not alone! Here are some of the most common queries—plus quick, practical answers to help you create a stunning piece with ease.
How long do dry flowers last in a wreath?
With proper care, a dry flower wreath can last years! Store it in a cool, dry place (like a closet or under a bed) to prevent moisture damage. Avoid direct sunlight or humidity, which can cause fading or mold. If stored well, it’ll stay fresh and fragrant for seasons to come!
Can I make a dry flower wreath year-round?
While seasonal blooms (like baby’s breath or dried roses) work best, you can use preserved flowers or even everlasting flowers (like statice or strawflowers) any time. For a winter wreath, try eucalyptus, pinecones, or dried citrus slices for a festive touch.
What’s the best base for a wreath that won’t show through?
For a seamless look, use a grapevine wreath base (natural and sturdy) or a foam ring wrapped in burlap or lace. If you’re on a budget, a sturdy wire or even a thick cardboard ring (covered with floral tape) works too. Just ensure it’s wide enough to hold your flowers securely!
Why are my dry flowers losing their shape or color?
Dry flowers can sag or fade if they’ve absorbed moisture. To fix this, gently reshape them and let them dry again in a warm, dry place (like a sunny windowsill). If color fades, it’s often irreversible—but using UV-protective sprays can slow future fading. Store them in an airtight container with silica gel packets for extra protection.
Are there eco-friendly alternatives to traditional dry flowers?
Yes! Try foraged flowers (like dried lavender or yarrow), seed pods, or pressed leaves for a zero-waste wreath. You can also upcycle dried citrus peels or pine needles for texture. Just ensure they’re fully dehydrated to prevent mold—air-drying or using a dehydrator works best!
Wrapping up and next steps
Creating a dry flowers wreath is more than just a craft—it’s an art that breathes timeless beauty into any space. Whether you’re preserving memories, adding rustic charm, or embracing seasonal elegance, these everlasting blooms offer endless creativity with minimal effort. 🌸
Ready to bring your vision to life? Start small—gather a few dried flowers, pick a base, and let your imagination guide you. Your next project could be the centerpiece of your home’s decor!