Planting
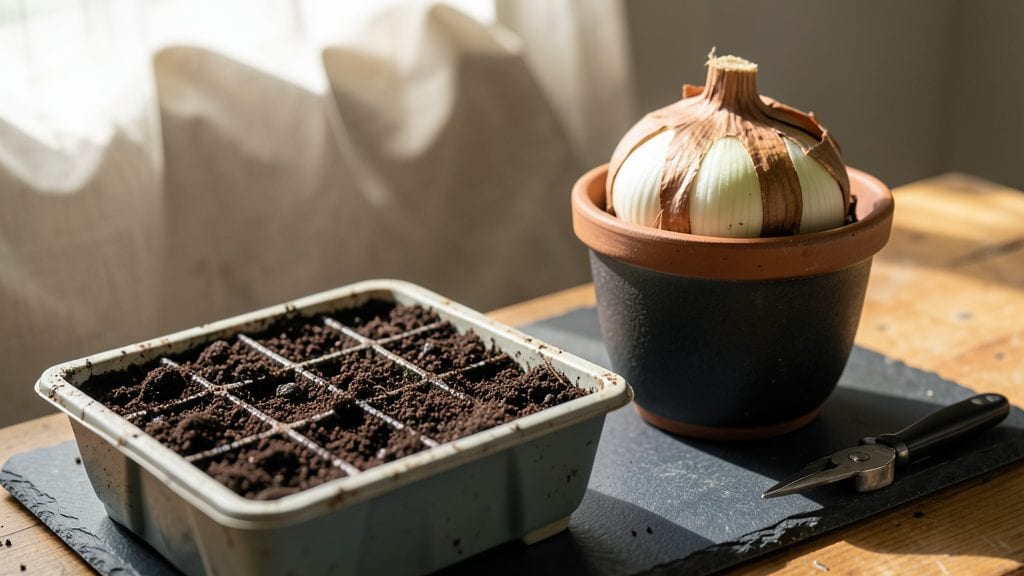
Planting amaryllis flower bulbs is how I turn my living room into a winter wonderland of bold red blooms by Valentine’s Day. 🌸 The secret isn’t expensive pots or fancy soil—it’s getting the bulb depth, light, and watering just right from day one.
Most people overthink it, but amaryllis are shockingly forgiving once you know the basics.
You’ll need a bulb that’s firm to the touch, a pot with drainage holes, and a well-draining potting mix. I use a 6-inch container and bury half the bulb—no deeper, no shallower.
Place it in bright, indirect light (no harsh midday sun) and keep the soil lightly moist but never soggy. That’s where 90% of failures happen.
By week 6, you’ll be rewarded with a 2-foot-tall stalk of trumpet-shaped blooms that last for weeks. The scent is subtle but sweet, and the deep reds or pinks make any room feel festive.
Just avoid these two mistakes: letting the soil dry out completely or drowning the bulb in water.
Pair it with a trailing pothos or a dusty miller for contrast, and you’ve got a showstopping indoor garden that’s easier than you’d think. Ready to grow yours?
📚 In This Guide
- What you need
- Instructions
- Tips and common mistakes
- Wrapping up and next steps
What you need
- ● Amaryllis bulbs: 1–3 large, firm bulbs (6–8 inches in diameter). Look for healthy, unblemished bulbs with tight, papery skins.
- ● Well-draining potting mix: 2–3 gallons of a cactus/succulent mix or a blend of 50% potting soil + 50% perlite/pumice.
- ● Pot: A container with drainage holes, 2–3 inches deeper and wider than the bulb (e.g., a 6–8 inch pot for 1 bulb).
- ● Watering can or spray bottle: With a gentle nozzle to avoid damaging the bulb.
- ● Bright, indirect light: A south- or west-facing window (or a grow light for 12–14 hours/day if indoors year-round).
- ○ Gloves (optional): To protect hands from sharp bulb edges.
- ○ Peat pellets or moss (optional): For moisture retention if your mix dries quickly.
- ● Plant food: A balanced liquid fertilizer (10-10-10 or 20-20-20) diluted to half-strength for feeding.
- ○ Support stake or wire (optional): For tall stems (6+ inches) to prevent bending.
- ○ Thermometer (optional): To monitor soil temps (ideal: 65–75°F for rooting).
Step-by-step instructions for growing amaryllis flower bulbs
Here's how to coax those stunning blooms indoors—no greenhouse needed.
🪴 Step 1: Select and Prep Your Bulbs
Choose firm, plump bulbs with no soft spots or sprouts already growing. I like to soak mine in lukewarm water for 10 minutes before planting—this helps break dormancy and encourages faster growth. The bulbs should feel heavy for their size, indicating they're packed with stored energy for blooming.
Use a pot that's only 1-2 inches wider than the bulb itself. Too much space leads to weak stems and fewer flowers. A 6-8 inch pot works perfectly for a single bulb, giving it just enough room without overwhelming it. Drainage holes are a must—amaryllis roots hate soggy feet.
🌱 Step 2: Plant the Bulb Correctly
Fill the pot halfway with well-draining potting mix—I blend regular potting soil with 20% perlite for extra aeration. Set the bulb in the center, making sure the bottom third sits below soil level. This buried portion is where roots will anchor and draw nutrients.
Press the soil gently around the bulb until it's firmly held in place. Leave the top half exposed—this is where the stem will emerge. Water lightly until moisture reaches the soil line, but don't drown it. The bulb should feel snug, not wobbly, in its pot.
☀️ Step 3: Provide Light and Warmth
Place your amaryllis in a spot with bright, indirect light—think east or west window, or a few feet from a south-facing window. Direct sun can scorch the leaves, but too little light means weak stems and fewer blooms. You'll see the leaves start to push through the soil in 1-2 weeks—that's your first sign of success.
Keep the soil evenly moist but not soggy. I water when the top 1 inch of soil feels dry to the touch. A moisture meter helps avoid guesswork. Maintain temperatures between 65-75°F—warmer spots speed up growth, while cooler areas slow it down. A heat mat under the pot can help if your home runs chilly.
⏰ Step 4: Encourage Blooming in 6 Weeks
Once the leaves reach 6-8 inches tall, that's when the magic happens. Reduce watering slightly—let the top 2 inches of soil dry out between waterings. This stress triggers the bulb to focus energy on producing a flower stalk instead of more leaves. You'll notice a tight bud forming at the base of the leaves in 3-4 weeks.
When the flower stalk appears, move the pot to a cooler spot (55-60°F) if possible. This mimics the natural dormancy period and helps the buds open fully. The blooms will unfurl over 7-10 days, revealing their dramatic, trumpet-shaped flowers. Here's the thing—each bloom lasts only 5-7 days, so enjoy them daily!
🌿 Step 5: Care for Post-Bloom and Future Growth
After blooming, don't cut the stalk—let it die back naturally. The bulb is still storing energy from the leaves, which will fuel next year's flowers. Keep watering normally until the leaves yellow and wilt, then reduce water to once every 2-3 weeks. This gradual drying helps the bulb enter dormancy without shock.
In 8-10 weeks, after the leaves have fully browned, trim them back but leave the bulb in the pot. Store it in a cool, dark place (55-60°F) with minimal watering until late summer. When you see new growth in 6-8 weeks, it's time to bring it back into the light and repeat the process. Real talk: with proper care, the same bulb can bloom for years—I've had mine flower reliably for over a decade!
Tips & tricks for perfect amaryllis flower bulbs
These simple tricks will help you grow showstopping blooms that last for years. The secret lies in understanding what your bulb needs at each stage—it's not just about planting and waiting!
Bulb Selection: When choosing your amaryllis bulb, look for ones that weigh 12-18 ounces—these larger bulbs produce the most dramatic blooms. I've found that bulbs with a slight sheen on their skin often indicate better moisture content and vitality. The 10-minute soak in lukewarm water isn't just a suggestion—it's what kickstarts the growth process by breaking dormancy. Think of it like waking up a sleeping giant!
Pot Size Matters: That 6-8 inch pot recommendation isn't arbitrary—it creates the perfect balance. Too small and the bulb can't anchor properly; too large and it wastes energy growing roots instead of flowers. Here's a pro move: place your pot on a saucer with pebbles and water to create humidity around the base. This mimics tropical conditions where amaryllis naturally grow, helping those leaves reach 6-8 inches faster.
Lighting Strategy: If you don't have ideal window space, consider using a grow light for 12-14 hours daily during the growth phase. Position it 6-12 inches above the plant to prevent leaf burn. I've seen dramatic results when supplementing natural light this way—especially in winter when days are shorter. The key is keeping those leaves vibrant so they can photosynthesize and fuel the flower stalk.
Watering Wisdom: The 1 inch dry topsoil rule is your guide, but here's what nobody tells you—water quality matters. If you notice yellowing leaf tips, it might be from minerals in your tap water. Use filtered or rainwater instead. And when you reduce watering to let the top 2 inches dry out before blooming, do it gradually over 3-4 days to avoid shocking the plant. Sudden changes can stress the bulb and delay flowering.
Pro Tips for Amaryllis Flower Bulbs
- These simple tricks will help you grow showstopping blooms that last for years.
- Bulb Selection: When choosing your amaryllis bulb, look for ones that weigh 12-18 ounces—these larger bulbs produce the most dramatic blooms.
- Pot Size Matters: That 6-8 inch pot recommendation isn't arbitrary—it creates the perfect balance.
Frequently asked questions
Got questions about growing amaryllis bulbs?
You’re not alone! Here are answers to the most common queries—so you can confidently grow these show-stopping blooms.
How long does it take for amaryllis bulbs to bloom after planting?
With proper care, amaryllis bulbs typically bloom 6–10 weeks after planting. The key is patience and consistency—keep them in a warm, bright spot (but not direct sun) until you see those stunning stems emerge! Chill them for 4–6 weeks first to trigger flowering.
Do amaryllis bulbs need a cold period to flower?
Yes! Amaryllis bulbs require a 4–6 week "rest" at 50–55°F (10–13°C) to encourage blooming. Place them in a cool, dark spot (like a garage or basement) before replanting. This mimics winter conditions and jumpstarts their growth cycle.
Can I plant amaryllis bulbs in water instead of soil?
Many gardeners grow amaryllis in water for easy care. Simply place the bulb (half-submerged) in a vase with fresh water, changing it weekly. Just avoid overcrowding—one bulb per 2–3 inches of water works best. Watch those roots grow!
Why isn’t my amaryllis bulb sprouting or flowering?
Common culprits include lack of light, overwatering, or no chilling period. Ensure your bulb gets bright, indirect light (6+ hours/day) and water only when the top inch of soil feels dry. If it’s been planted for months with no sprouts, try replanting and giving it that cool rest.
How do I make my amaryllis rebloom next year?
After blooming, let the foliage die back naturally (don’t trim it!) to store energy for next season. Then, repeat the 4–6 week chill and replant in fresh soil. Feed with a balanced fertilizer every 4–6 weeks during active growth. With this routine, many bulbs rebloom for years!
Can I grow amaryllis outdoors in my climate?
It depends! Amaryllis bulbs thrive indoors year-round but can be planted outdoors in USDA Zones 9–11 after the last frost. In colder zones, treat them as annuals or dig them up before winter. They love well-draining soil and full sun—just protect them from frost!
Wrapping up and next steps
Growing amaryllis flower bulbs is a rewarding journey that brings vibrant blooms into your home in just six weeks! With the right care—bright light, minimal water, and a little patience—you’ll enjoy stunning, trumpet-shaped flowers that brighten any space. 🌸
Now that you’re armed with tips and answers to common questions, it’s time to plant your bulbs and watch your indoor garden thrive. Grab those bulbs, follow the steps, and soon you’ll be admiring your own breathtaking amaryllis display!