
Tools
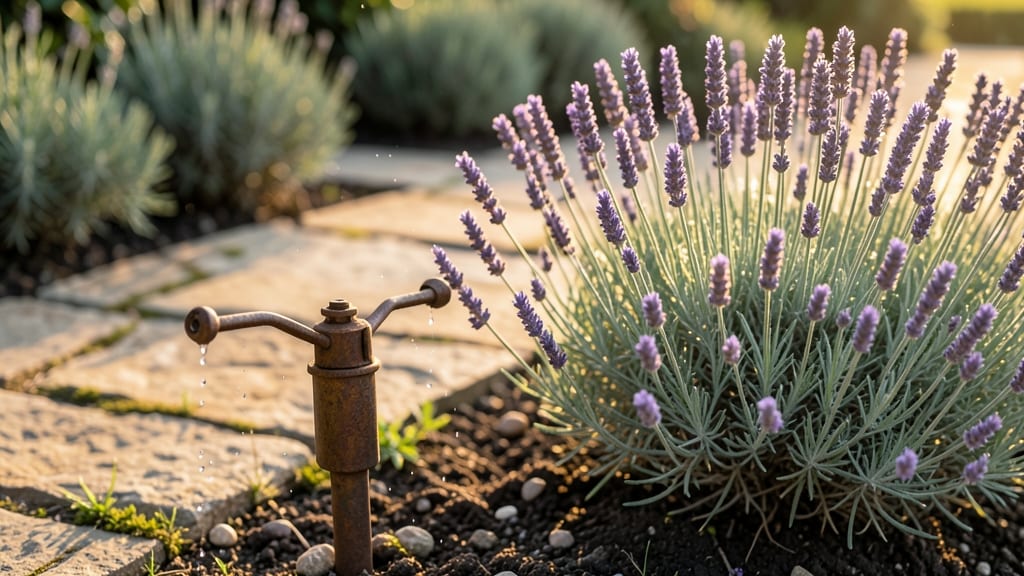
Your flower beds deserve watering as delicate as their petals—sprinklers designed for flowers make all the difference. 🌸 I’ve seen too many gardens where heavy sprinklers blast blooms into oblivion, leaving behind a soggy mess.
The right system keeps petals intact while delivering water where it matters most: at the roots.
The best options? Oscillating sprinklers for broad coverage, rotary sprinklers for gentle arcs, or drip systems for pinpoint precision. Placement is key—position them so water lands 6–12 inches from the base, avoiding direct hits on stems.
Pair with mulch to slow evaporation, and you’ll preserve that showstopping look while keeping roots happy.
What you’ll end up with is a garden that stays lush without sacrificing beauty—no more wilted roses or muddy paths. The water pressure stays consistent, petals stay dry, and your design stays intact. It’s the secret to gardens that look as good as they grow.
Works for borders, perennials, or mixed beds—just adjust the spacing and flow rate. Let’s get those blooms thriving without the drama.
📚 In This Guide
- What you need
- Instructions
- Tips and common mistakes
- Wrapping up and next steps
What you need
- ● Sprinkler heads: Choose rotary sprinklers (for even coverage) or impact sprinklers (for larger flower beds). Quantity: 1–4 heads, depending on bed size (e.g., 1 head for 500 sq. ft.).
- ● Polyethylene tubing: ½-inch or ¾-inch diameter, flexible and UV-resistant. Length: Measure your flower bed’s perimeter + 10% extra for cuts/waste.
- ● Sprinkler valves: Manual or automatic (for smart watering systems). Quantity: 1 per zone (start with 1–2 for small beds).
- ● Backflow preventer: Required by code in most areas to protect your water supply.
- ● Trenching tool or shovel: For burying tubing (6–8 inches deep for protection).
- ● Measuring tape: 100+ feet for precise tubing cuts.
- ● Adjustable wrench: For securing fittings and valves.
- ● Hose or water source connection: ¾-inch male threaded adapter if hooking to a spigot.
- ● Timer/controller: Smart or mechanical (e.g., Orbit B-Hyve) to automate watering schedules.
- ● Rain sensor: Auto-shuts off during rain to conserve water.
- ● Fertilizer injector: For slow-release nutrients mixed with water.
- ● Ground stakes or flags: To mark tubing paths before digging.
- ● Sand or gravel: For drainage around valves to prevent freezing.
- ● Water pressure gauge: Ensures 20–50 PSI (ideal for most sprinklers).
How to install sprinklers for perfect flower bed hydration
Here's my foolproof method for setting up sprinklers that keep petals vibrant without waste.
💧 Step 1: Plan Your Sprinkler Layout for Even Coverage
Start by sketching your flower bed layout on paper. Mark where each sprinkler will go, spacing them 10-15 feet apart for even distribution. I like to place sprinklers near the center of each section rather than along edges—this prevents water pooling at the perimeter where roots often struggle.
Walk through your garden with a measuring tape and mark potential locations with stakes. Consider your water source's pressure—if you're using a hose, test it first to ensure it can reach all marked spots without losing force. Low pressure means you'll need to space sprinklers closer together, typically 8-10 feet apart in these cases.
🪴 Step 2: Choose and Install the Right Sprinkler Heads
For flower beds, I recommend rotor sprinklers for larger areas and impact sprinklers for smaller sections. Rotor heads create gentle arcs that mimic natural rainfall, perfect for delicate petals. Install them at a height of 6-8 inches above the soil surface—this prevents water from splashing onto leaves and flowers.
Adjust the spray pattern to match your bed's shape. Most heads have adjustable nozzles that let you set the radius from 10 to 30 feet. Overlap patterns by about 10-15% to ensure no dry spots. I always test each head after installation by running water for 10 minutes and checking for even saturation.
☀️ Step 3: Connect Sprinklers to Your Water Source
Use polyethylene tubing (1/2-inch diameter) to connect sprinklers to your water source. Bury the main line 4-6 inches deep to protect it from freezing and accidental damage. For flower beds, I prefer surface-mounted connections with quick-connect fittings—they're easier to adjust later if you change your layout.
Install a backflow preventer near your water source to protect your plumbing. This is especially important if you're using a hose bib. Set up a timer controller with a rain delay feature to prevent overwatering during unexpected showers. Program it for early morning watering (5-7 AM) to reduce evaporation and fungal risks.
⏰ Step 4: Test and Adjust for Perfect Watering
Run your sprinkler system for 20-30 minutes and observe how water distributes. Look for areas where water pools or skips sections entirely—these are your adjustment points. Most sprinklers have adjustable nozzles that let you fine-tune the spray pattern and distance.
For flower beds with varying heights, like those with tall perennials in back and low annuals in front, consider using adjustable spray nozzles. These let you direct water upward slightly to reach taller plants without oversaturating the lower ones. After adjustments, run the system again and check soil moisture at different points—it should be evenly damp but not soggy.
Tips & tricks for perfect flower bed sprinkler installation
Here's what I learned after fixing my first few sprinkler setups—tricks that'll save you time and frustration while keeping your flowers thriving.
Precision Spacing: When spacing sprinklers 10-15 feet apart as recommended in Step 1, use a measuring wheel instead of a tape measure for large areas. This saves hours of back-and-forth measuring. For irregularly shaped beds, draw your layout to scale on graph paper first—this visual helps you avoid overlapping coverage gaps. Remember, the 10-15% overlap mentioned in Step 2 is crucial for preventing dry spots between sprinklers.
Head Height Matters: That 6-8 inch height for sprinkler heads in Step 2 isn't just arbitrary—it's the sweet spot to prevent water from splashing onto petals. I learned this the hard way when my roses got fungus spots from overhead watering. For beds with delicate flowers like impatiens, consider raising heads to 10-12 inches to create a gentle rain effect. Always check the manufacturer's specs for your specific sprinkler model.
Pressure Testing: Before finalizing your layout, perform a pressure test using just one sprinkler head connected to your water source. Run it for the full 20-30 minutes mentioned in Step 4 while observing the spray pattern from different angles. If you notice uneven distribution, adjust the nozzle or consider adding a second sprinkler in that section. This simple step prevents costly mistakes after installation.
Seasonal Adjustments: The 5-7 AM watering schedule in Step 3 works perfectly for spring and summer, but needs tweaking for other seasons. In fall, reduce watering to 3-5 times per week as plants enter dormancy. In winter (depending on your climate), you might only need 1-2 waterings per week unless you have evergreens that need consistent moisture. Always check soil moisture before adjusting your timer—stick your finger 2 inches deep—if it's damp, hold off on watering.
Pro Tips for Sprinklers For Flower Beds
- Here's what I learned after fixing my first few sprinkler setups—tricks that'll save you time and frustration while keeping your flowers thriving.
- Precision Spacing: When spacing sprinklers 10-15 feet apart as recommended in Step 1, use a measuring wheel instead of a tape measure for large areas.
- Head Height Matters: That 6-8 inch height for sprinkler heads in Step 2 isn't just arbitrary—it's the sweet spot to prevent water from splashing onto petals.
Frequently asked questions
Got questions about keeping your flower beds lush and vibrant with the right sprinkler system? Here are some common ones—and their answers—to help you water like a pro!
What’s the best type of sprinkler for flower beds?
For flower beds, impact sprinklers or rotary sprinklers work best—they deliver a steady, gentle stream that mimics natural rain. Avoid oscillating sprinklers if your flowers are delicate, as they can cause petal damage. Match the sprinkler’s coverage to your bed size for even watering.
When should I water my flower beds with a sprinkler?
Water early in the morning (before 10 AM) to reduce evaporation and fungal risks. Avoid evening watering, as damp flowers overnight can attract pests. Most flower beds need 1–1.5 inches of water per week, including rainfall. Adjust based on your climate and soil type—sandy soil drains faster!
How do I prevent overwatering or underwatering with a sprinkler?
Set a timer for 20–30 minutes per zone and check soil moisture with your finger—if the top 1–2 inches are dry, it’s time to water. Use a rain gauge to monitor output. For sensitive flowers, split watering into shorter sessions (e.g., 10 minutes twice daily) to avoid runoff.
Why is my sprinkler not covering the entire flower bed evenly?
Uneven coverage often stems from clogged nozzles, low water pressure, or incorrect sprinkler placement. Clean nozzles with vinegar, check for kinks in hoses, and adjust sprinkler heads to overlap by 10–15%. For large beds, use multiple sprinklers or a drip irrigation system for precision.
Are there alternatives to traditional sprinklers for flower beds?
Yes! Consider soaker hoses (great for ground covers) or drip irrigation (ideal for delicate blooms). Micro-sprinklers are another option—they deliver fine mist without disturbing petals. Solar-powered sprinklers add eco-friendly convenience, though they’re best for supplemental watering.
Wrapping up and next steps
Choosing the right sprinklers for your flower beds can transform your garden into a vibrant, thriving oasis—without the guesswork! Whether you opt for oscillating, pulsating, or impact sprinklers, the key is precision watering that keeps petals lush while conserving water.
With the right setup, you’ll save time, reduce waste, and enjoy a garden that blooms effortlessly.
Ready to elevate your gardening game? Start by assessing your flower bed’s size and layout, then pick the sprinkler that best fits your needs. Your perfect garden is just a sprinkle away—happy watering! 🌸💦