Planting
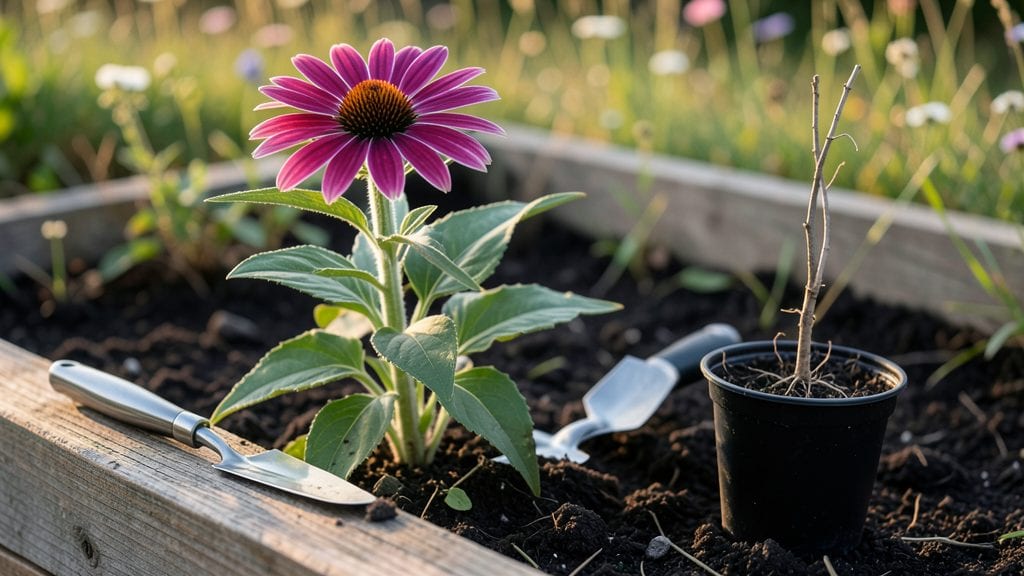
Planting coneflowers in fall means bold purple blooms next summer with almost no effort from you—because the roots establish themselves over winter while you sleep.
I learned this the hard way after spring-planted coneflowers struggled in my heavy clay soil, but fall planting turned them into the most reliable perennials in my garden.
The secret lies in timing: aim for 4-6 weeks before your first frost, when soil stays workable but cool roots won't bake in summer heat.
Here's the game-changer: fall-planted coneflowers develop strong root systems before summer heat arrives, so they bounce back from drought and pests better than spring starts.
You'll need well-draining soil (amend with compost if yours is heavy), 24-36 inches of spacing between plants, and a spot with full sun to partial shade. Water deeply after planting, then let nature take over—they'll need far less summer care than their spring-planted cousins.
By next June, you'll have vibrant, long-lasting blooms that hummingbirds adore, with stems sturdy enough for cutting. The plants return year after year, multiplying naturally while most annuals fade away. Even my black thumb can't kill these once they're established—just give them that fall head start.
Works beautifully in USDA zones 3-9, though northern gardeners should plant slightly earlier than southern ones. The key difference from spring planting? Less competition from weeds and no need for summer watering schedules. Perfect for lazy gardeners who want color with minimal upkeep.
📚 In This Guide
- What you need
- Instructions
- Tips and common mistakes
- Wrapping up and next steps
What you need
- ● Coneflower plants (Echinacea spp.): Choose healthy nursery-grown seedlings (1-2 years old) or bare-root plants. Aim for 3–5 plants per square yard for a lush display.
- ● Garden soil or potting mix: Well-draining, loamy soil (amend with compost if needed). 1–2 bags (40 lbs each) per 10 sq. ft. for poor soil.
- ● Organic compost or aged manure: 5–10 lbs per 10 sq. ft. to enrich the soil.
- ● Garden trowel or transplant spade: For digging holes (6–8 inches deep).
- ● Watering can or hose with a gentle spray nozzle: For thorough watering.
- ● Mulch (straw, shredded leaves, or pine needles): 2–3 inches thick to insulate roots over winter.
- ● Gloves and knee pads: For comfort during planting.
- ● Slow-release fertilizer (10-10-10 or balanced formula): 1–2 tbsp per plant mixed into soil for a nutrient boost.
- ● Epsom salt (magnesium sulfate): 1 tbsp per gallon of water for a foliar spray to prevent yellowing.
- ● Plant tags or markers: To label varieties (e.g., ‘Magnus,’ ‘White Swan’).
- ● Soil pH tester: Coneflowers prefer slightly acidic to neutral soil (pH 6.0–7.0).
- ● Frost cloth or row cover: For extra protection in harsh winter zones (below USDA Zone 5).
Step-by-step guide for planting coneflowers in fall
Fall planting gives coneflowers a head start on root growth before winter dormancy.
Choose the Right Location and Prepare the Soil
Coneflowers thrive in full sun—select a spot that receives at least 6-8 hours of direct sunlight daily. This ensures strong, healthy blooms next season. Avoid low-lying areas where cold air settles, as coneflowers are hardy but not frost-tolerant in waterlogged soil.
Test the soil pH before planting—coneflowers prefer slightly acidic to neutral soil (pH 6.0-7.0). If your soil is heavy clay or overly sandy, amend it with 2-3 inches of compost mixed into the top 12 inches of soil. This improves drainage and nutrient retention, which is critical for fall-planted perennials.
Dig Holes and Plant at the Correct Depth
Dig holes twice as wide as the root ball but only as deep as the container’s height. Coneflowers have deep taproots, so planting too deep can suffocate the crown. Gently remove the plant from its container and loosen any circling roots with your fingers—this encourages outward growth.
Place the coneflower in the hole so the top of the root ball sits level with the surrounding soil. Press the soil firmly around the roots to eliminate air pockets, but avoid compacting it too tightly. Water deeply right after planting to settle the soil and remove any gaps.
Mulch and Water for Winter Protection
Spread 2-3 inches of organic mulch (like shredded bark or straw) around each plant, keeping it 2-3 inches away from the stem to prevent rot. Mulch insulates the roots from extreme temperature fluctuations and retains moisture during fall’s drying winds. This is especially important in colder climates where frost can penetrate shallow soil.
Water thoroughly once a week until the ground freezes, but reduce frequency as temperatures drop. Overwatering in late fall can lead to root rot, so only water when the top 2 inches of soil feel dry. Coneflowers planted in fall will establish roots before dormancy, giving them a stronger start in spring.
Monitor and Adjust for Spring Readiness
In early spring, check for signs of new growth—you’ll see shoots emerging from the soil around late March or April, depending on your climate. If the mulch has broken down significantly, add a 1-inch top layer to protect young shoots from late frosts.
Once the soil warms to 50°F or above, resume regular watering and fertilizing. Coneflowers planted in fall often bloom earlier and more vigorously than those planted in spring, thanks to their established root systems. Prune back dead foliage in early spring to encourage fresh growth and better air circulation.
Tips & tricks for perfect fall-planted coneflowers
Fall planting success comes down to these small details that make all the difference between a struggling perennial and one that thrives for years.
Sunlight Strategy: While 6-8 hours of sunlight is ideal, coneflowers planted in fall can handle slightly less if you're in a northern climate. The key is to choose the sunniest spot available—even an extra hour of afternoon sun helps them establish stronger roots before winter. I've seen coneflowers in partial shade still bloom, but the stems get leggy and flowers are less abundant. If your garden has limited sun, consider planting near a south-facing wall where reflected light adds valuable exposure.
Root Ball Preparation: The most common mistake I see is not loosening circling roots before planting. Those roots can strangle the plant if left intact. Take an extra minute to gently tease them apart with your fingers—this encourages outward growth rather than keeping the plant dependent on container roots. For container-grown plants, soak the root ball for 10-15 minutes before planting to help it settle into the garden soil more easily. This small step makes a huge difference in how quickly the plant establishes itself.
Mulch Depth Matters: That 2-3 inches of mulch recommendation isn't just about insulation—proper depth prevents the soil from freezing too deeply. In colder climates, add an extra inch of mulch if your winters are particularly harsh. I've learned this the hard way: insufficient mulch can mean frozen roots that struggle to emerge in spring. Also, keep that mulch 2-3 inches away from the stem to prevent rot—it's easy to forget this detail in the planting rush.
Spring Readiness Check: The late March or April emergence timing varies by region, but you can actually predict it by watching your local weather patterns. In my zone 5 garden, I've found that if we've had three consecutive days above 40°F by early March, the coneflowers usually emerge within two weeks. This helps me time my spring mulch top-up perfectly. If you're in doubt, a quick soil thermometer check (looking for that 50°F threshold) gives you the most reliable indicator of when to resume regular care.
Pro Tips for Planting Coneflower In Fall
- Fall planting success comes down to these small details that make all the difference between a struggling perennial and one that thrives for years.
- Sunlight Strategy: While 6-8 hours of sunlight is ideal, coneflowers planted in fall can handle slightly less if you're in a northern climate.
- Root Ball Preparation: The most common mistake I see is not loosening circling roots before planting.
Frequently asked questions
Got questions about planting coneflowers in the fall? You’re not alone—here are some of the most common concerns, answered for easy planning!
When is the exact best time to plant coneflowers in fall?
Plant 4–6 weeks before your first hard frost (typically late September to early November in most U.S. zones). This gives roots time to establish before winter. Check your local frost dates—aim for soil temps between 50–60°F for ideal growth.
Will coneflowers survive winter if planted too late?
Coneflowers are hardy (zones 3–9), but late planting (after frost) risks weak roots. If you miss the window, mulch heavily (3–4 inches of straw or leaves) to insulate roots. Young plants may need winter protection, like burlap wraps, in colder zones.
Can I plant coneflower seeds or should I use transplants?
Both work! Seeds are cheaper but slower (germinate in spring). Transplants (purchased in fall) bloom faster next year. For seeds, sow lightly in fall—they’ll sprout in spring. Transplants need 12–18 inches of space; seeds self-thin naturally.
Are there pests I should watch for when planting in fall?
Fall pests are rare, but slugs/snails may munch young seedlings. Set out beer traps or use organic slug bait. Deer might nibble transplants—protect with wire cages if needed. Monitor for aphids in early spring (spray with soapy water if severe).
How do I ensure my coneflowers bloom next year?
Focus on well-draining soil (amend with compost if clay-heavy) and full sun (6+ hours/day). Water deeply after planting but reduce in winter. Deadhead spent blooms in summer to encourage more flowers. Fertilize lightly in spring with balanced 10-10-10—coneflowers dislike rich soil!
Wrapping up and next steps
Planting coneflowers in the fall is a game-changer for vibrant, low-maintenance blooms that thrive year after year! 🌸 With their frost-resistant roots and cheerful colors, these perennials reward patience and effort—plus, fall planting means fewer weeds and less competition for nutrients.
Whether you’re a seasoned gardener or just starting, now’s the perfect time to set the stage for next summer’s stunning garden.
Ready to take the next step? Grab your gloves and pick a sunny spot—your future garden will thank you! For extra tips, check out our gardening guide or tag us in your fall planting pics. Happy gardening! 🌿