How To
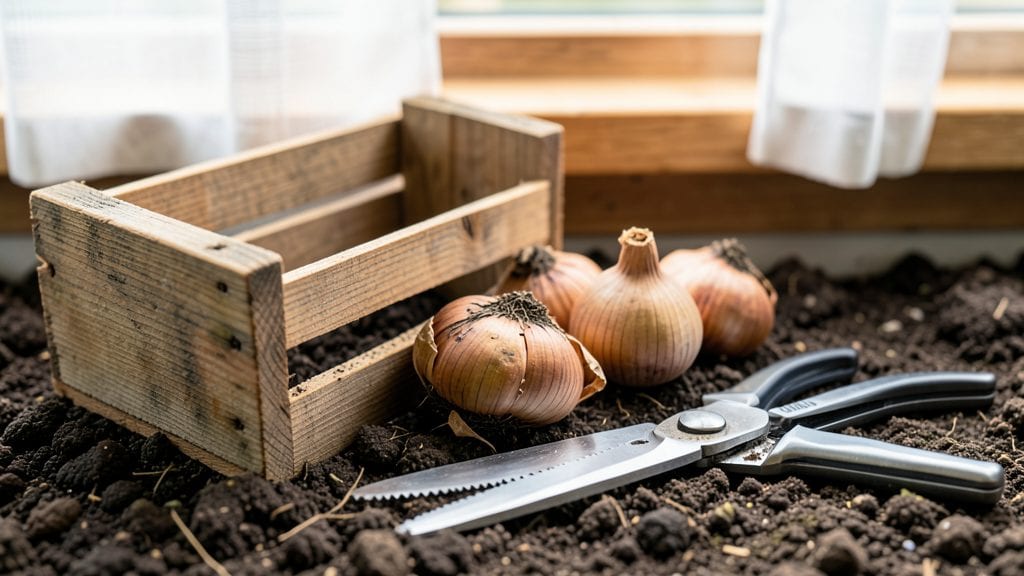
Storing hyacinth bulbs after flowering is the secret to next year’s vibrant blooms—and skipping this step means missing out on those fragrant purple spikes. 🌿 I’ve learned the hard way that letting bulbs bake in the ground or storing them too early leads to weak, sparse flowers (or worse, no flowers at all).
The key is timing: wait 6–8 weeks after blooming before lifting them, then dry, cool, and protect them until replanting.
You’ll need just a few simple tools: a fork or trowel for digging, a breathable mesh bag or paper sack for ventilation, and a dark, dry spot (like a basement or garage) where temperatures stay between 40–50°F.
The process takes less than an hour, but the payoff—healthy bulbs ready to push through the soil next spring—is worth every minute. No fancy equipment needed, just patience and the right conditions.
When you replant in fall, you’ll see the difference: bulbs stored properly produce stronger stems, more buds, and longer-lasting blooms than neglected ones. The secret lies in mimicking their natural dormancy—cool, dark, and slightly dry, just like they’d experience underground.
Skip this, and you might as well toss them in the compost.
Here’s the game-changer: store bulbs in small groups (not piled) to prevent rot, and check them monthly for mold or pests. If you’re in a warm climate, delay lifting until late summer—hyacinths need that extra time to recharge.
Next spring, your garden will thank you with bold, fragrant clusters that turn heads at neighborhood walks.
📚 In This Guide
- What you need
- Instructions
- Tips and common mistakes
- Wrapping up and next steps
What you need
- ● Hyacinth bulbs: Freshly dug bulbs (after foliage has yellowed and died back naturally).
- ● Garden trowel or fork: For carefully lifting bulbs from the soil (avoid damaging the bulb or roots).
- ● Garden gloves: To protect your hands while handling bulbs and soil.
- ● Newspaper, dry peat moss, or vermiculite: At least 2–3 inches of material for a breathable, dry storage medium (newspaper is budget-friendly!).
- ● Cardboard box or mesh bag: A sturdy container with ventilation holes (e.g., a 10x12-inch box or breathable sack).
- ○ Plastic bag (optional but helpful): A resealable, breathable bag (like a produce bag with holes poked in it) to group bulbs together and reduce drying.
- ● Labeling tags & marker: To mark bulb varieties (e.g., "Pink Pearl" or "Delft Blue") if storing multiple types.
- ● Cool, dry location: Aim for 50–60°F (10–15°C)—a garage, basement, or unheated shed works best.
- ● Low humidity: Avoid damp areas (moisture = rot risk!).
- ● Darkness: Light exposure can trigger premature sprouting.
- ● Good airflow: Prevents mold by keeping the storage space slightly ventilated.
- ● ✨ Cure bulbs first: Let them dry in a shady, well-ventilated spot for 1–2 weeks before storing to harden their skins.
- ● 🔥 Avoid plastic bins: Skip airtight containers—they trap moisture and suffocate bulbs.
- ● 🎯 Check periodically: Inspect bulbs monthly for soft spots or mold (discard affected bulbs immediately).
Step-by-Step instructions for storing hyacinth bulbs after flowering
Here's my foolproof method for keeping your bulbs healthy through summer.
🌱 Step 1: Let Foliage Fully Yellow Before Removing Bulbs
After flowering, resist the urge to cut back the leaves immediately. Hyacinths need all their foliage to photosynthesize and replenish energy for next year's blooms. Wait until the leaves turn completely yellow and crispy—usually 6-8 weeks after flowering. This ensures the bulb stores enough nutrients.
Here's the thing—if you cut back too soon, you'll starve the bulb. I've learned this the hard way when my hyacinths failed to bloom the following spring. The leaves might look unsightly, but they're working hard underground.
💧 Step 2: Dig Up Bulbs Gently and Cure in a Dry Shade
Use a garden fork to carefully lift the bulbs from the soil, being sure to keep the roots intact. Shake off excess dirt but don't wash them. Place the bulbs in a dry, shaded spot for 1-2 weeks to let the outer skin harden—a process called "curing." This prevents rot during storage.
I like to lay them out on a mesh screen or old window screen in my garage. The airflow helps them dry evenly without direct sunlight. If you notice any soft or mushy bulbs, discard them immediately—they'll spoil in storage.
⏰ Step 3: Store in a Cool, Dark Place with Proper Airflow
Once cured, transfer the bulbs to a paper bag or mesh sack (never plastic—they'll sweat and rot). Store them in a cool (40-50°F), dark location like a basement or unheated garage. Check them monthly to remove any that feel soft or moldy.
Real talk: I used to store mine in a cardboard box, but condensation built up and caused rot. Now I use breathable fabric bags and a small fan on low to keep air circulating. The key is consistent moisture control—never let them sit in damp conditions.
☀️ Step 4: Inspect and Prep for Planting Before Spring
About 8-10 weeks before your last frost date, remove the bulbs from storage and inspect for soft spots or mold. Trim any damaged roots or dried foliage, but leave the bulb intact. Soak them in a lukewarm fungicide solution (optional but helpful) for 15 minutes to prevent disease.
This is the moment that matters: If a bulb feels light for its size or has shriveled, it may not bloom well. Healthy bulbs should feel firm and plump. I like to plant mine in well-draining soil with a handful of bone meal mixed in for extra phosphorus—hyacinths love it.
Tips & tricks for perfect hyacinth bulb storage
Here's what nobody tells you about keeping those bulbs thriving for next spring.
Timing is Everything: That 6-8 week wait for yellow leaves might feel like forever, but it's non-negotiable. I've seen gardeners rush this step and end up with weak, non-blooming bulbs the following year. Mark your calendar when the flowers fade—this is your starting point. The leaves are doing critical work underground, even if they look dead above.
Curing Secrets: During that 1-2 week curing period in Step 2, don't be tempted to speed things up with heat. Gentle airflow from a small fan on low is perfect—it mimics natural drying conditions. I place my mesh screen near an open window where it gets indirect light. If you notice any bulbs developing mold during curing, isolate and discard them immediately to prevent spread.
Storage Environment: The 40-50°F range in Step 3 is crucial—any warmer and they'll start to sprout prematurely. I've had success using a basement with a small dehumidifier running nearby to maintain consistent moisture levels. If you don't have a basement, a cool closet with a fan works too. The key is eliminating any moisture sources that could cause rot.
Spring Prep Insight: When you're checking bulbs 8-10 weeks before your last frost, pay special attention to their weight. Healthy bulbs should feel substantial for their size—if they feel hollow or light, they may not have stored enough energy to bloom well. This is your quality control moment before planting.
Pro Tips for Store Hyacinth Bulbs After Flowering
- Here's what nobody tells you about keeping those bulbs thriving for next spring.
- Timing is Everything: That 6-8 week wait for yellow leaves might feel like forever, but it's non-negotiable.
- Curing Secrets: During that 1-2 week curing period in Step 2, don't be tempted to speed things up with heat.
Frequently asked questions
When is the best time to dig up hyacinth bulbs after flowering?
Dig up your hyacinth bulbs 6–8 weeks after flowering, once the foliage turns yellow and starts to die back. This timing ensures the bulbs have stored enough energy for next year’s blooms. Avoid waiting too long—overripe foliage means weaker bulbs!
Can I store hyacinth bulbs in the refrigerator?
Yes, but with care! Place bulbs in a paper bag or mesh container in the fridge’s crispier drawer (not the freezer). Aim for 35–45°F (2–7°C) and check monthly for rot or mold. A cool basement or garage works too if your fridge lacks humidity control.
What if my hyacinth bulbs sprout before planting time?
If green shoots appear too early, move bulbs to a brighter, cooler spot (like a sunny windowsill or unheated garage). Trim sprouts to 2–3 inches to redirect energy to the bulb. Plant outdoors only after the last frost—premature planting risks frost damage.
Do I need to treat hyacinth bulbs for pests or diseases before storing?
Inspect bulbs for soft spots, mold, or bugs before storing. Discard any damaged ones. For prevention, dust bulbs lightly with fungicide (like copper-based powder) or store them in a mesh bag to deter pests. Avoid plastic—it traps moisture and encourages rot.
Can I leave hyacinth bulbs in the ground over winter?
Only in USDA Zones 7–10 with mild winters. In colder climates (Zones 1–6), dig and store bulbs—hyacinths aren’t winter-hardy and may rot. Mulch heavily if leaving them in place, but expect reduced blooms the following year.
Wrapping up and next steps
Storing hyacinth bulbs the right way ensures they’ll reward you with vibrant blooms next season! By following these simple steps—drying, cooling, and protecting—you’re giving your bulbs the best chance to thrive. Patience and care now mean a stunning spring display later.
Ready to set the stage for next year’s garden magic? Grab those bulbs, find a cozy spot, and get storing—your future flowers will thank you! 🌱✨