
Flowers
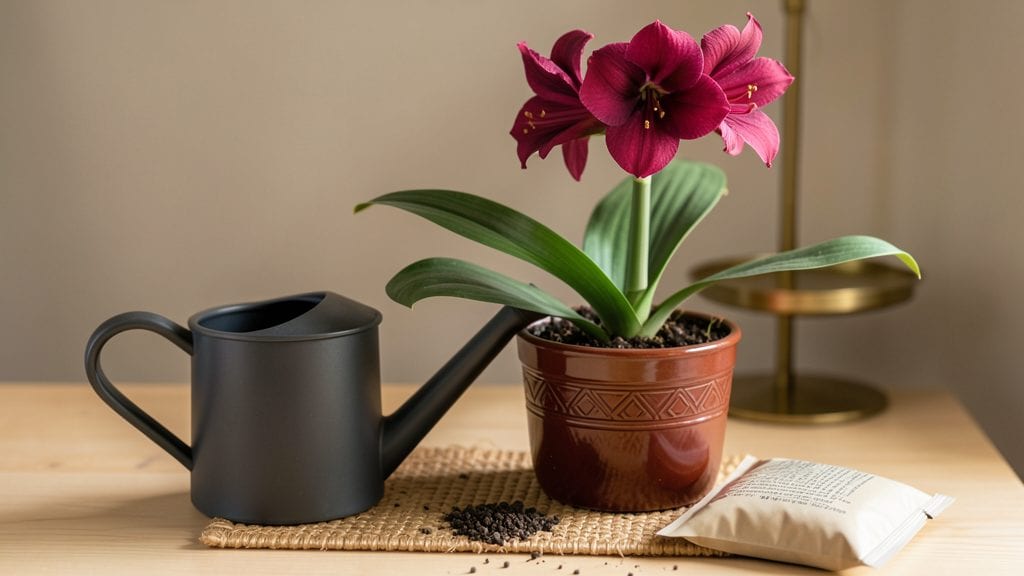
Forcing amaryllis to flower isn’t just about patience—it’s about tricking nature with the right light and temperature cues. 🌱 I’ve coaxed bold red blooms from dormant bulbs in December by mimicking their tropical winter dormancy, and the secret lies in a 6-8 week cooling period followed by bright, indirect light.
The bulbs need to "think" it’s summer before they’ll reward you with those showstopping flowers.
The magic happens in three simple phases: first, a 60-degree dormancy period where you barely water the bulb, then a 70-degree warm-up with consistent moisture, and finally bright light (but no direct sun) to trigger the bloom.
Most people skip the dormancy step, which is why their amaryllis just sits there looking stubborn. Trust me, the bulbs will bloom if you give them this seasonal push.
What you end up with is a 6-foot-tall stalk of vibrant blooms that lasts 2-3 weeks indoors—long enough to become the centerpiece of your holiday table or winter windowsill.
The stems stay sturdy, the petals open fully, and you’ll get that satisfying "I did this" moment when neighbors ask where you bought them. (Spoiler: you grew them yourself.)
This method works year after year with the same bulbs, so you’re not just getting one season of blooms—you’re building a collection that keeps delivering. The only catch? You’ll need to repeat the process annually, but that’s a small price for stunning, homegrown flowers that cost pennies to produce.
📚 In This Guide
- What you need
- Instructions
- Tips and common mistakes
- Wrapping up and next steps
What you need
- ● Healthy amaryllis bulb: Choose a firm, plump bulb (2–3 inches in diameter) with no soft spots or mold. Pro tip: Look for bulbs labeled "flowering size" for best results!
- ● Well-draining potting mix: A blend of cactus/succulent mix (60%) + perlite or pumice (40%) to prevent root rot. Quantity: Enough to fill a pot 2–3 inches deeper than the bulb’s height.
- ○ Pot with drainage holes: A 6–8 inch diameter container (terracotta or ceramic works best). Optional: A cache pot (decorative outer pot) for aesthetics.
- ● Watering can or spray bottle: With a narrow spout for precise watering (avoid soggy soil!).
- ○ Grow lights (optional but helpful): A full-spectrum LED bulb (10,000–15,000 lumens) or a south-facing window for natural light.
- ● Thermometer/hygrometer: To monitor temperatures between 60–75°F (15–24°C) and humidity (~40–50%).
- ● Fertilizer (balanced or bulb-specific): A 10-10-10 or 20-20-20 formula (diluted to half-strength) or an amaryllis fertilizer with micronutrients.
- ● Rooting hormone: To boost root growth if repotting a bulb.
- ● Mulch (gravel or pebbles): For decorative pots to improve drainage.
- ● Humidity tray: A shallow tray with pebbles + water to increase moisture levels.
- ● Plant ties or stakes: If your amaryllis grows tall (6+ inches), these prevent flopping.
Step-by-Step instructions for forcing amaryllis to bloom
Here's how to coax those dramatic blooms indoors with precise timing and care.
🌱 Step 1: Select and Prep Your Amaryllis Bulb
Choose a healthy, firm bulb with no soft spots or mold—these are your best bets for reliable blooms. I always pick bulbs that are at least 6 inches in diameter, as larger bulbs produce bigger, more dramatic flowers. Remove any dried or damaged roots from the base before planting.
Plant the bulb in a pot that's only 2-3 inches wider than the bulb itself. This prevents the bulb from rotting due to excess moisture. Fill the container with well-draining potting mix (I use a blend of cactus mix and perlite) and position the bulb so that about half of it sits above the soil line. The top third should remain exposed to prevent rot.
☀️ Step 2: Provide Bright, Indirect Light
Place your potted amaryllis in a spot with bright, indirect light—think east-facing window or a few feet from a south-facing one. Direct sun can scorch the leaves, while too little light leads to weak stems and small blooms. You'll know the light is right when the leaves stay vibrant green without yellowing.
If natural light is insufficient, supplement with a grow light positioned 6-12 inches above the plant for 12-14 hours daily. Avoid LED bulbs that emit too much heat, as amaryllis bulbs are sensitive to warmth. Watch for leaf tips curling or browning—this is your signal to move the plant away from the light source.
⏰ Step 3: Control Temperature for Flowering
The real magic happens with temperature. Keep your amaryllis in a cool, dark spot (50-55°F) for 8-10 weeks to trigger blooming. I use a basement or garage with a small grow light for this stage—just enough light to prevent the bulb from shriveling. This mimics the winter dormancy period that forces bulbs to produce flowers.
During this time, water sparingly—only enough to keep the soil slightly moist. Overwatering causes rot, and you won't see any growth anyway. After 8-10 weeks, move the pot to a warmer spot (65-75°F) with bright light. You'll notice new shoots emerging within 1-2 weeks—that's your cue to increase watering gradually.
💧 Step 4: Water and Fertilize for Bloom Development
Once shoots appear, water thoroughly when the top 1-2 inches of soil feel dry. Amaryllis bulbs store water, so they don't need frequent watering—just consistent moisture. I use room-temperature water to avoid shocking the roots. Fertilize lightly with a balanced liquid fertilizer (10-10-10) diluted to half-strength every 2-3 weeks to support flower development.
Watch for the first flower stalk to emerge—this usually happens 6-8 weeks after moving the bulb to warmer conditions. The stalk will grow quickly, so stake it if needed to prevent bending. Once the first bud opens, the rest will follow within 1-2 weeks. Here's the thing—don't remove yellow leaves unless they're completely dead. They photosynthesize and feed the bloom.
✂️ Step 5: Extend Blooms and Care for Post-Flowering
To prolong blooms, keep the plant in bright light and maintain consistent watering. Deadhead spent flowers by cutting the stalk 1 inch above the bulb—this redirects energy to the bulb for next season. I always leave the leaves intact until they yellow naturally, as they continue feeding the bulb even after blooming.
After flowering, reduce watering slightly but don't let the soil dry out completely. Place the plant in a sunny spot and continue fertilizing monthly. In late summer, gradually reduce water and light to simulate dormancy. When leaves yellow completely, stop watering and store the bulb in a dry, dark place at 50-60°F until next year.
Tips & tricks for perfect amaryllis blooms
These subtle adjustments make all the difference between a struggling bulb and a showstopping display of color.
Lighting Strategy: In Step 2, when positioning your amaryllis for bright indirect light, place it near an east-facing window where morning sunlight is gentle but abundant. If using grow lights, opt for cool white LED bulbs (5000-6500K) rather than warm tones—they mimic natural daylight better and prevent leaf burn. I've found that rotating the pot quarter-turns weekly ensures even growth, especially important during the 12-14 hour daily light period.
Temperature Transition: The 8-10 week cool period in Step 3 is non-negotiable for flowering, but the transition to warmer conditions (65-75°F) needs precision. I recommend moving the bulb to its warmer location during the day and bringing it back to cooler temperatures at night for the first 7-10 days. This gradual adjustment prevents shock that could delay blooming. Watch for the first shoots—when they emerge within 1-2 weeks, you've hit the temperature sweet spot.
Watering Wisdom: During the cool dormancy period, I use a spray bottle to mist the soil lightly every 3-4 weeks rather than watering from above. This prevents moisture buildup that could rot the bulb while still maintaining minimal hydration. Once shoots appear, I switch to bottom-watering—place the pot in a shallow tray of water for 10 minutes, then drain thoroughly. This method gives roots consistent moisture without over-saturating the soil.
Post-Bloom Preservation: When storing bulbs at 50-60°F after flowering, I wrap each bulb individually in newspaper before placing them in a cardboard box with ventilation holes. This prevents moisture buildup that could cause rot during dormancy. Label each box with the year to track dormancy periods—some bulbs need exactly 8 weeks, others may require up to 10 weeks of cool treatment before flowering again.
Pro Tips for Force Amaryllis To Flower
- These subtle adjustments make all the difference between a struggling bulb and a showstopping display of color.
- Lighting Strategy: In Step 2, when positioning your amaryllis for bright indirect light, place it near an east-facing window where morning sunlight is gentle but abundant.
- Temperature Transition: The 8-10 week cool period in Step 3 is non-negotiable for flowering, but the transition to warmer conditions (65-75°F) needs precision.
Frequently asked questions
Got questions about forcing your amaryllis to bloom? You’re not alone! Here are some of the most common concerns—and their answers—to help you troubleshoot and succeed.
Why isn’t my amaryllis flowering after forcing?
If your amaryllis isn’t blooming, it might need more light (6–8 hours of bright, indirect sunlight daily) or colder temps (60–65°F at night). Overwatering or a bulb that’s too old (5+ years) can also stall blooms. Try adjusting care and give it 4–6 weeks—patience is key!
How long does it take to force an amaryllis to flower?
From the start of forcing (when you repot the bulb), expect blooms in 6–10 weeks, depending on light, warmth, and bulb health. If you’re impatient, place it near a sunny window or under a grow light to speed things up. Track progress with a calendar—consistency matters!
Can I force an amaryllis to bloom indoors year-round?
Technically yes, but results vary. Amaryllis bulbs need a cool, dark rest period (like winter) to recharge for next year’s blooms. If you force them year-round, they may produce fewer or smaller flowers. For best results, mimic seasons: 6 weeks of warmth → 8 weeks of rest → repeat.
What if my amaryllis only grows leaves and no flowers?
Leafy growth without flowers often means the bulb isn’t getting enough light or nutrients. Move it to a brighter spot (avoid direct sunburn) and fertilize lightly with a bulb-specific food. Overwatering can also deter blooms—let the top inch of soil dry out between waterings.
Can I force multiple amaryllis bulbs at once for a fuller display?
Plant 2–3 bulbs in the same pot (or separate pots) for a dramatic effect. Just ensure each gets enough space (2–3 inches between bulbs) and light. Pro tip: Use a larger pot (12+ inches) to accommodate roots and prevent competition. Coordinate forcing dates for synchronized blooms!
Wrapping up and next steps
Forcing your amaryllis to bloom is all about patience, precision, and a little plant magic! 🌱 By mastering light exposure, temperature shifts, and proper care, you’ll unlock those breathtaking flowers—whether indoors or outdoors.
Start with the basics, tweak as needed, and soon you’ll be rewarded with vibrant blooms that brighten any space.
Ready to see your amaryllis shine? Next, experiment with different light sources (like grow lights or sunny windows) or adjust your watering routine to fine-tune results. Every plant has its quirks—keep observing, and you’ll become a blooming pro in no time!