Flowers
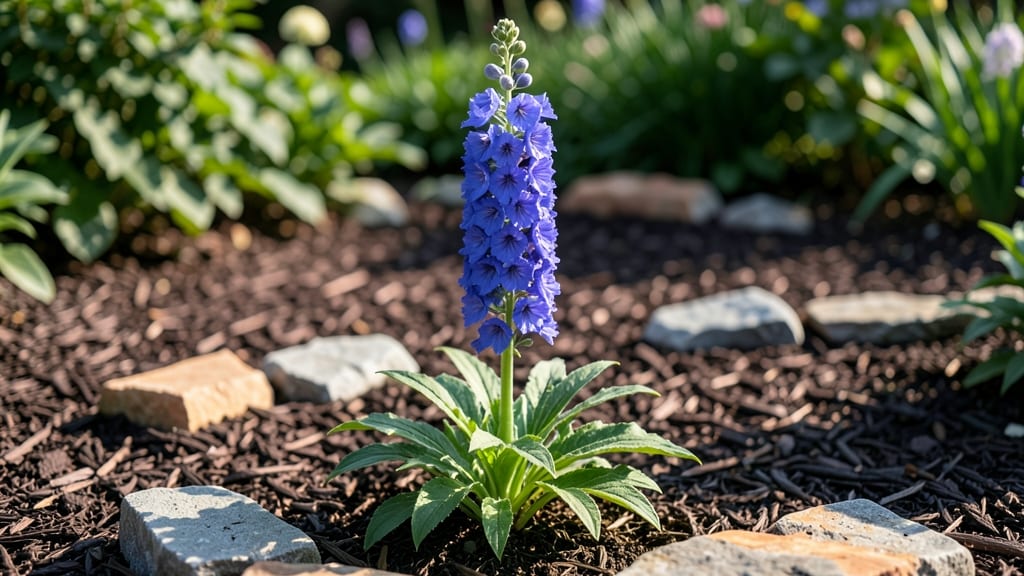
A flower bed on a hill isn't just a design choice—it's a chance to turn a tricky slope into a pollinator magnet that steals the show. 🌿 I learned the hard way that planting straight up a hill without prep leads to erosion, muddy puddles, and plants that give up after one season.
The key is working with the slope, not against it.
Start with stabilization: rocks, logs, or deep-rooted ground covers like creeping thyme or sedum hold the soil while adding texture. For drainage, raised edges or swales (shallow trenches) keep water flowing where it belongs. Choose plants that love your climate—drought-tolerant lavender, native milkweed, or ornamental grasses thrive where others fail.
By summer, you'll have a layered masterpiece that hums with bees, butterflies, and birds. The hill becomes a stage: tall coneflowers in back, mid-height salvias, and spilling petunias at the edges. Maintenance is minimal once established—just occasional weeding and deadheading to keep the show going.
This works for sun-drenched south-facing slopes or shady north hills—adjust plant choices to your light. The only limit is your imagination (and how much you love watching pollinators party on your new hillside stage).
📚 In This Guide
- What you need
- Instructions
- Tips and common mistakes
- Wrapping up and next steps
What you need
- ● Topsoil or garden soil: 10–20 bags (1 cubic yard minimum, depending on slope size). Opt for well-draining soil mixed with compost for nutrient-rich growth.
- ● Mulch: 5–10 bags (straw, pine bark, or shredded leaves). 3–4 inches will suppress weeds and retain moisture.
- ● Native or pollinator-friendly plants: Perennials (e.g., coneflowers, black-eyed Susans): 12–24 plants
- ● Annuals (e.g., zinnias, cosmos): 20–30 plants
- ● Shrubs (e.g., butterfly bush, lavender): 3–6 plants
- ○ Edging material (optional but recommended): Flexible landscape fabric or stones to define borders and prevent erosion.
- ● Shovel or spade
- ● Rake (bow rake for leveling)
- ● Wheelbarrow (for hauling soil)
- ● Garden gloves & knee pads
- ● String & stakes (to mark layout before planting)
- ● Watering can or hose with nozzle (for gentle watering)
- ● Safety gear: Sturdy shoes (for uneven terrain) and a dust mask (if working with heavy soil).
- ● Slope assessment: Check for erosion risks. If steep (>30°), consider terracing or retaining walls for stability.
- ● Sunlight mapping: Observe your hill’s light exposure for 3+ hours of sun (most pollinator plants thrive here).
- ● Drainage check: Avoid low-lying areas where water pools—amend soil with sand or perlite if needed.
- ● Local regulations: Verify if your area requires permits for landscaping on slopes or native plant use.
Step-by-Step guide for designing a pollinator-friendly hillside flower bed
Here's how to turn a tricky slope into a thriving haven for bees, butterflies, and hummingbirds.
🪴 Step 1: Assess and Prepare the Hillside
Start by evaluating the slope's angle and soil quality. Steeper grades need extra erosion control, while gentler slopes can handle more decorative elements. I like to sketch the space first—marking where I'll place rocks, mulch, or terraces to slow water flow and create planting zones.
Use a shovel to loosen the top 6-8 inches of soil along your planned bed outline. If the hill is steep, consider installing landscape fabric first to prevent soil from washing away during watering. For slopes over 30 degrees, add retaining walls or logs to create flat planting terraces every 2-3 feet.
🌱 Step 2: Build Terraces and Improve Soil
For terraces, lay down landscape fabric strips and fill them with a mix of native topsoil and compost (I use a 50/50 blend). This prevents erosion while giving pollinators the nutrient-rich soil they need. Add a 1-inch layer of mulch after planting to retain moisture and suppress weeds.
Here's the thing—hillside soil often drains too fast. Amend it with organic matter like compost or peat moss to help retain water. For slopes, I also mix in hydromulch or straw mulch to protect the soil surface while plants establish.
☀️ Step 3: Choose and Plant Pollinator-Friendly Species
Select a mix of perennials, annuals, and shrubs that bloom at different times. I always include milkweed for monarchs, bee balm for bees, and coneflowers for butterflies. Plant taller varieties at the back and shorter ones toward the front to create a natural layered look.
Space plants based on their mature size—12-18 inches apart for perennials, 6-12 inches for annuals. Dig holes just deep enough to cover the roots, then water deeply to settle the soil. Don't skip this step—proper spacing prevents competition and makes maintenance easier.
💧 Step 4: Install Irrigation and Erosion Control
For slopes, I recommend drip irrigation or soaker hoses placed at the top of each terrace. This delivers water slowly without disturbing the soil. If using a sprinkler, water early in the morning to reduce evaporation and runoff.
Add gravel or decorative rocks along the edges of terraces to slow water flow and reinforce structure. This also creates microhabitats for beneficial insects. Mulch again after watering to keep the soil cool and moist.
✂️ Step 5: Maintain and Encourage Pollinators
Water deeply once a week during dry spells, but avoid overwatering—hillside beds drain fast. Remove spent blooms regularly to encourage continuous flowering. I also leave some seed heads for winter interest and food for birds.
Monitor for pests like aphids or slugs, but avoid chemical sprays. Instead, introduce ladybugs or nematodes for natural control. The more diverse your plant selection, the more resilient your pollinator paradise will be.
Tips & tricks for perfect hillside flower beds
Transforming a hillside into a pollinator paradise takes a few key tricks to keep everything thriving. Here's what I've learned from years of working with slopes—these details make all the difference between a struggling garden and one that buzzes with life.
Terrace Spacing Secret: When creating terraces in Step 1, space them every 2-3 feet as instructed, but I recommend using 3 feet for steeper slopes—this gives you more stability and easier access for maintenance. The wider spacing also helps water drain more effectively between terraces, preventing erosion during heavy rains. Think of it like building stairs: wider steps are easier to navigate and more stable.
Soil Mix Matters: The 50/50 blend of native topsoil and compost in Step 2 is perfect, but here's the thing—if your native soil is extremely sandy, bump the compost ratio to 60% compost to help retain moisture. For clay-heavy soils, mix in 20% perlite or coarse sand to improve drainage. This adjustment keeps your pollinator plants happy without overworking the slope's natural drainage.
Plant Placement Pro Tip: In Step 3, when arranging your pollinator plants, I always place the tallest varieties (like milkweed) at the very back of each terrace and work forward to shorter plants. This creates a natural progression that guides the eye upward, making your hillside look more intentional. For slopes, I also stagger plants slightly—this mimics nature and helps prevent soil erosion from heavy rain.
Watering Wisdom: The once-weekly deep watering in Step 5 works beautifully, but here's a trick: water in the early morning (6-8 AM) when temperatures are cooler. This reduces evaporation and gives plants time to absorb moisture before the heat of the day. For slopes, I also recommend using a soaker hose on the lowest terrace first, letting water flow naturally upward—this mimics rainfall patterns and prevents runoff.
Pro Tips for Flower Bed On Hill
- Transforming a hillside into a pollinator paradise takes a few key tricks to keep everything thriving.
- Terrace Spacing Secret: When creating terraces in Step 1, space them every 2-3 feet as instructed, but I recommend using 3 feet for steeper slopes—this gives you more stability and easier access for maintenance.
- Soil Mix Matters: The 50/50 blend of native topsoil and compost in Step 2 is perfect, but here's the thing—if your native soil is extremely sandy, bump the compost ratio to 60% compost to help retain moisture.
Frequently asked questions
Got questions about creating a stunning flower bed on a hill?
You’re not alone! Here are some of the most common queries—and their answers—to help you design a pollinator-friendly paradise that’s as functional as it is beautiful.
What’s the best way to stabilize soil on a hill before planting?
Use geotextile fabric or erosion-control blankets to prevent soil from washing away. For a natural look, layer cardboard or burlap under mulch, then top with gravel or wood chips. Plant deep-rooted ground covers (like creeping thyme) to further anchor the soil. Pro tip: Avoid tilling—it disrupts the hill’s structure and accelerates erosion.
When is the ideal time to plant a hillside flower bed?
For most climates, early spring or fall are best—when temperatures are mild, and rain is plentiful. Avoid planting in peak summer heat, as young plants struggle to establish roots. If you’re in a dry region, opt for fall planting to give roots time to settle before winter dormancy. Check your USDA zone for local timing tweaks!
How do I ensure proper drainage on a hillside?
Hillside flower beds must drain well to avoid root rot. Start with sandy or gravelly soil (amend clay with compost + perlite). Install French drains or swales (shallow trenches) to redirect water. Use raised beds with sloped sides if needed, and avoid compacting soil during construction. Test drainage: Dig a 12-inch hole, fill with water, and time how long it takes to drain—ideal is <6 hours.
Which pollinator-friendly flowers thrive on hillsides?
Choose drought-tolerant, native perennials like coneflowers, black-eyed Susans, lavender, and milkweed—they handle slopes and attract bees, butterflies, and hummingbirds. Avoid heavy water-loving plants (e.g., hostas) unless you’re willing to amend soil heavily. Succulents (like sedum) are also great for erosion control! Bonus: Cluster plants in groups of 3+ for maximum pollinator appeal.
What’s the easiest alternative if my hill is too steep for a traditional flower bed?
Consider terracing (build stepped levels with retaining walls) or vertical gardens (use trellises or hanging planters). For minimal effort, try ground covers (e.g., clover, ajuga) mixed with small shrubs like butterfly bush. If the slope is extreme, container gardening on the hill’s edge can add color without risk. Safety first: Avoid overloading terraces with heavy soil or water.
Wrapping up and next steps
Creating a flower bed on hill isn’t just about beauty—it’s a gift to pollinators and your landscape’s charm! 🌿 With the right slope, soil prep, and plant choices, you’ve turned a tricky space into a thriving ecosystem.
Whether you’re a seasoned gardener or a curious beginner, this project proves that elevation can be your greatest ally.
Ready to bloom with confidence? Start small—plant a few native perennials or wildflowers—and watch your hillside transform over time. Need inspiration? Sketch your design, gather tools, and dive in! Your future pollinator paradise awaits. 🌸