Flowers
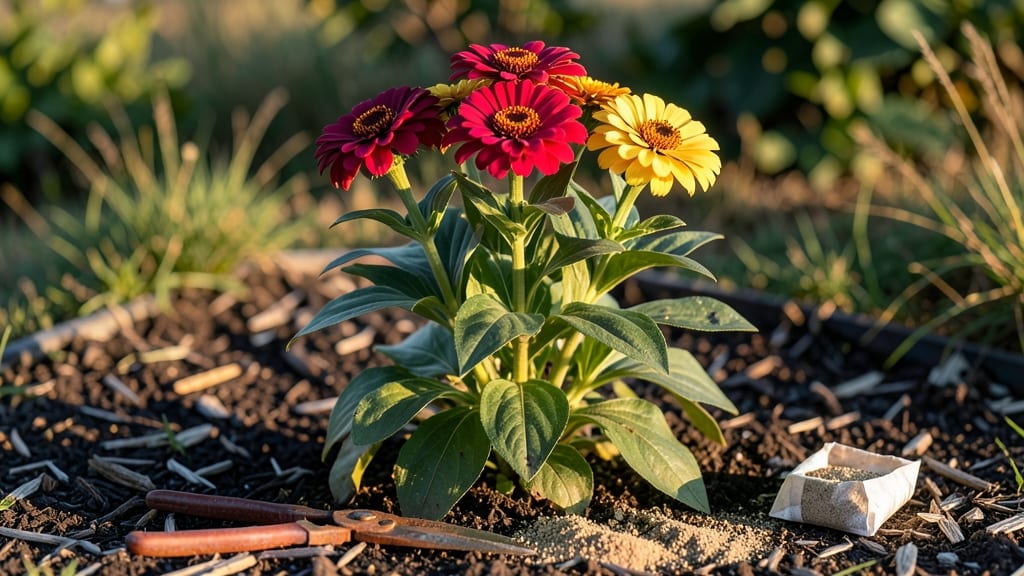
Turn that awkward corner into a vibrant corner flower bed and watch your garden’s most stunning feature bloom. A well-designed corner flower bed transforms dead space into a layered, ever-changing display that catches the eye from every angle.
I turned my own shady corner into a four-season showpiece by mixing heights, textures, and bloom times—now it’s the first thing guests notice.
The secret lies in smart plant choices: tall grasses for drama, mid-height perennials for structure, and low-spreading ground covers to fill gaps. My design uses heuchera for velvety foliage, hostas for shade tolerance, and Russian sage to draw the eye upward—all thriving in just 3 square feet.
Sunlight matters too; I adjusted my layout after realizing my corner gets only morning light, so I swapped sun-lovers for shade-tolerant varieties.
By spring, you’ll see delicate bleeding hearts peeking through, summer will bring coneflowers buzzing with bees, and fall delivers sedum in fiery hues. The key is layering—no single plant overpowers, yet every season offers something new. Maintenance stays light if you group plants with similar water needs together.
This works for city balconies or country yards—just scale the plants to your space. Whether you’ve got a 6-inch-wide crevice or a 4-foot triangular patch, the same principles apply. Let’s turn that corner into your garden’s star attraction!
📚 In This Guide
- What you need
- Instructions
- Tips and common mistakes
- Wrapping up and next steps
What you need
- ● Soil & Amendments: 1–2 bags of high-quality topsoil (2–3 cubic feet, depending on bed size)
- ● 1 bag of compost or organic matter (for nutrient-rich layers)
- ● Perlite or sand (1–2 gallons, for drainage)
- ● Plants (Layered by Height): Tall Backdrop (12–36"): 3–5 shrubs (e.g., hydrangeas, boxwoods, or ornamental grasses)
- ● Mid-Height (6–18"): 5–7 perennials (e.g., coneflowers, black-eyed Susans, or salvia)
- ● Low & Spiller (3–6"): 7–10 annuals/succulents (e.g., petunias, ajugas, or creeping thyme)
- ● Hardware & Tools: Garden shovel & spade (for digging)
- ● Wheelbarrow or garden cart (for hauling soil)
- ● Measuring tape & string (to mark bed edges)
- ● Garden gloves & knee pads (for comfort)
- ● Pruners or shears (for trimming)
- ● Mulch: 2–3 bags of shredded bark or pine straw (to retain moisture)
- ● Edging: Flexible landscape fabric or metal/stone borders (for a polished look)
- ● Drip Irrigation: A soaker hose or timer-based system (for low-maintenance watering)
- ● Decorative Stones: River rocks or pavers (to define paths or add texture)
- ● Fertilizer: Slow-release granules or liquid feed (for seasonal boosts)
Step-by-step guide to designing a corner flower bed
Transforming a tricky corner into a vibrant focal point takes thoughtful planning and strategic layering.
Assess the Space and Sunlight Conditions
Start by observing the corner throughout the day to determine its sunlight exposure. Note how many hours of direct sun it receives—this dictates which plants will thrive. Most flowering perennials need at least 6 hours of sun daily, while shade-tolerant plants like hostas or ferns can handle 4 hours or less. Take measurements of the space, including depth and width, to visualize the layout. A 4-foot by 4-foot corner typically accommodates 9-12 plants in a layered design, allowing room for both tall and low-growing varieties.
Check the soil quality by digging a small test hole. If the soil feels compacted or drains poorly, you’ll need to amend it later. Also, observe the corner’s drainage—water pooling after rain means you’ll need to incorporate sand or gravel to improve aeration. This step ensures your design aligns with the site’s natural conditions, preventing future struggles with underperforming plants.
Plan the Layered Planting Scheme
Divide your corner bed into three distinct layers: back (tall plants), middle (medium-height plants), and front (low-growing plants or ground covers). This creates depth and visual interest. For a 4-foot by 4-foot bed, allocate one-third of the space to tall plants (like delphiniums or black-eyed Susans), one-third to medium-height plants (such as coneflowers or phlox), and one-third to low-growing plants (like ajuga or creeping thyme). Sketch a rough layout to visualize how the plants will interact as they mature.
Consider the bloom times of your selections to ensure year-round color. For example, pair early spring bloomers like bleeding hearts with summer perennials like daylilies and fall asters. This layered approach not only maximizes visual appeal but also supports pollinators by providing continuous nectar sources. Don’t forget to leave 12-18 inches of space between tall plants to prevent overcrowding as they grow.
Prepare the Soil and Amend as Needed
Remove any existing weeds, rocks, or debris from the corner bed. Loosen the soil to a depth of 8-12 inches using a garden fork or tiller. If the soil is heavy clay or sandy, incorporate 2-3 inches of compost to improve fertility and structure. For poor drainage, mix in 1 part sand or perlite per 3 parts soil. This step is critical—amending the soil now saves you from struggling with weak plants later.
Level the bed gently to create a smooth surface for planting. Avoid compacting the soil further, as this restricts root growth. If your corner bed has uneven edges, use a board or string line to create clean, straight borders. This preparation ensures your plants establish strong roots and thrive from the start. Water the amended soil lightly before planting to help it settle.
Plant with Strategic Spacing and Mulch
Dig planting holes twice as wide as the root ball but no deeper. Place each plant in the hole, ensuring the top of the root ball sits level with the surrounding soil. Fill the hole with soil, pressing gently to eliminate air pockets. Space plants according to their mature sizes—18-24 inches apart for perennials and 12-18 inches for annuals. This spacing prevents competition for nutrients and reduces the need for frequent thinning.
Once all plants are in place, water deeply to settle the soil around the roots. Apply a 2-3 inch layer of mulch (like shredded bark or pine straw) over the entire bed, keeping it 2 inches away from plant stems to prevent rot. Mulch conserves moisture, suppresses weeds, and regulates soil temperature. Replenish the mulch layer annually to maintain its benefits. This step sets your corner bed up for long-term success with minimal maintenance.
Maintain and Refresh Seasonally
Water newly planted beds deeply once a week for the first month, ensuring the soil is moist but not soggy. After establishment, most perennials only need 1 inch of water per week, either from rain or irrigation. Monitor the bed regularly for weeds—pull them early to avoid competition with your plants. Deadhead spent blooms on annuals and perennials to encourage continuous flowering. This simple maintenance keeps your corner bed looking polished and vibrant.
In early spring, fertilize the bed with a balanced, slow-release fertilizer to support new growth. Divide and replace overcrowded perennials every 2-3 years to maintain vigor. By late fall, cut back dead foliage from perennials but leave seed heads for winter interest. This seasonal care ensures your corner flower bed remains a standout feature throughout the year, delivering on its promise of layered elegance.
Tips & tricks for perfect corner flower bed design
Here's what I've learned from years of transforming awkward corners into stunning garden focal points—these details make all the difference.
Sunlight Strategy: The 6 hours of sunlight mentioned for flowering perennials is non-negotiable for vibrant blooms, but don't overlook seasonal variations. Take your observations in both summer and winter—what gets full sun in July might only receive 4 hours in December. This helps you select plants that will thrive year-round rather than just during peak growing seasons. For example, Russian sage thrives in full sun but can tolerate partial shade in winter months.
Layered Design Secret: When planning your three-layer scheme in a 4-foot by 4-foot bed, think vertically as well as horizontally. The tall plants in the back should be spaced 12-18 inches apart, but consider their mature height—some delphiniums can reach 5 feet tall! Place them along the back edge so they don't cast too much shade on your middle and front layers. This vertical spacing creates that coveted "wow" factor from every viewing angle.
Soil Prep Pro Tip: The 8-12 inch soil loosening depth is perfect, but here's what nobody tells you—work in your compost and amendments while the soil is still moist from your initial watering. This creates a more uniform mixture and prevents clumping. For particularly compacted soil, consider adding a handful of perlite to each planting hole to ensure individual plants get optimal drainage from the start. This targeted approach prevents future waterlogging issues.
Maintenance Shortcut: That 2-3 inch mulch layer isn't just decorative—it's your secret weapon for reducing watering time by up to 30%. After your initial deep watering each week, you'll find the soil stays consistently moist at the root level. The key is to keep that mulch 2 inches away from stems to prevent rot, which I learned the hard way after losing several hostas to fungal issues. This simple adjustment makes all the difference in plant health.
Pro Tips for Corner Flower Bed
- Here's what I've learned from years of transforming awkward corners into stunning garden focal points—these details make all the difference.
- Sunlight Strategy: The 6 hours of sunlight mentioned for flowering perennials is non-negotiable for vibrant blooms, but don't overlook seasonal variations.
- Layered Design Secret: When planning your three-layer scheme in a 4-foot by 4-foot bed, think vertically as well as horizontally.
Frequently asked questions
Got questions about transforming your tricky corner space into a stunning flower bed? Here are some of the most common queries—and their answers—to help you get started with confidence!
What’s the best time of year to plant a corner flower bed?
The ideal time depends on your climate, but spring (after the last frost) and early fall are the sweet spots. For perennials, spring planting gives roots time to establish before winter. If you’re in a mild zone, you can even plant annuals in late summer for a burst of fall color! Just avoid extreme heat or cold—your plants will thank you.
How do I keep weeds from taking over my corner flower bed?
Weeds love sneaking into tight spaces! Start with a thick layer of mulch (2–3 inches) to smother them, then use landscape fabric under mulch if weeds are persistent. Hand-pulling weekly and choosing dense, competitive plants (like hostas or ferns) also helps. Pro tip: Corn gluten meal is a natural pre-emergent herbicide for organic gardens!
Can I use containers or raised beds instead of in-ground planting?
Containers and raised beds are perfect for corners—they add height, mobility, and drainage control. Opt for window boxes or tiered planters to maximize space. Just ensure they have drainage holes and use lightweight potting mix. For raised beds, keep them 12–18 inches deep to accommodate root growth.
Will my corner flower bed survive harsh winters?
With the right prep, yes! Choose cold-hardy perennials (like hellebores, sedum, or Russian sage) and mulch heavily (4–6 inches) before frost. For tender plants, container gardening lets you move them indoors or under a porch. Group plants with similar needs together, and avoid overwatering—wet soil freezes faster!
What if my corner has poor drainage or is too shady?
No corner is off-limits! For wet areas, amend soil with compost and sand or build a raised bed. Shady spots thrive with hostas, ferns, or impatiens. If drainage is terrible, install a French drain or use containers with saucers to catch excess water. Dwarf varieties (like Japanese forest grass) work well in tight, shaded nooks too!
Wrapping up and next steps
A corner flower bed isn’t just a garden feature—it’s a year-round canvas for creativity and beauty! 🌸 By layering plants thoughtfully, you’ve unlocked a space that thrives in every season, from bold perennials to delicate annuals. The key? Balance—mixing heights, textures, and colors while keeping maintenance simple.
Now that you’re inspired, why not start sketching your design? Grab a notebook, snap some photos of your favorite blooms, and let your corner flower bed become the star of your outdoor space. Happy gardening! 🌿✨