Flowers
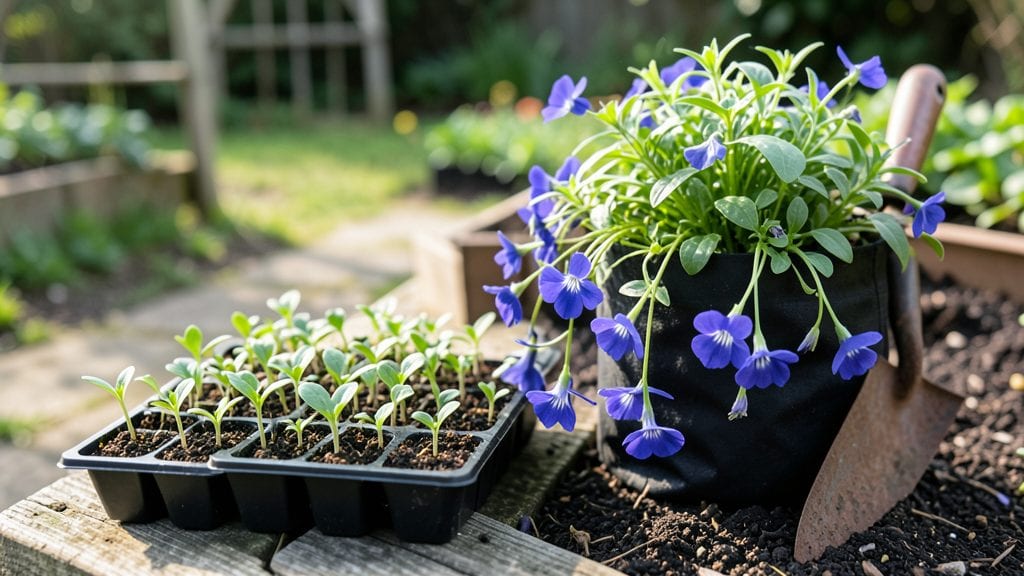
Building cheap raised flower beds for under $20 was my first gardening hack—and they still outshine pricier planters after three years. The secret isn’t fancy lumber—it’s repurposing what you already have, like old pallets, cinder blocks, or even stacked bricks.
I’ve built mine from scrap wood, galvanized troughs, and even a discarded wine barrel, all while keeping the soil mix simple and affordable.
You don’t need fancy tools or expensive soil to make this work. A basic shovel, some hardware cloth for drainage, and a mix of compost, peat moss, and garden soil will give you lush blooms without breaking the bank.
The best part? These beds last through rain, heat, and heavy blooming seasons—no rot or collapse like cheap kits promise. For small spaces, I stack cinder blocks in a U-shape to save room and add a rustic charm.
Imagine stepping outside in June to find vibrant petunias spilling over the edges, snapdragons reaching for the sunlight, and marigolds buzzing with bees—all while your neighbors wonder how you did it for so little.
The key is layering drainage (crushed stone or broken pottery) and securing the edges so they don’t bow under summer’s weight. Even my first attempt, built in a weekend, still thrives.
Whether you’re working with a balcony, a patch of lawn, or a backyard corner, these beds adapt to any space. The only rule? Start small, keep it sturdy, and let your plants do the talking. Ready to see how far a little creativity and scrap materials can take your garden?
📚 In This Guide
- What you need
- Instructions
- Tips and common mistakes
- Wrapping up and next steps
What you need
- ● Untreated lumber (cedar or pine) – 4 pieces, 2x6 or 2x8 boards (length depends on bed size, e.g., 4’ x 8’ = 4 boards at 8’ long). Cedar resists rot better but costs more; pine is cheaper but may need sealing.
- ● Galvanized or stainless steel screws – 2.5” deck screws (100–150 screws per bed) for sturdy assembly.
- ● Corrugated metal roofing or hardware cloth – For weed barriers (cut to fit bed dimensions).
- ○ Landscape fabric – Optional but recommended to suppress weeds.
- ● Drill + drill bits – For pre-drilling screw holes (prevents wood splitting).
- ● Measuring tape + pencil – For precise cuts and markings.
- ● Saw (hand saw, circular saw, or miter saw) – For cutting lumber to size.
- ● Level – Ensures your bed stays even and stable.
- ● Gloves + safety goggles – Because DIY safety matters!
- ● Wood stain or sealant – Extends lumber life (especially for pine).
- ● Pebbles or gravel – For drainage at the bottom of the bed.
- ● Pre-mixed soil or compost – Skip the expensive bags—use yard waste or free local compost!
- ● Corner braces – Adds extra stability for taller beds.
Step-by-Step instructions for building budget-friendly raised flower beds
Here's how to create sturdy, affordable raised beds that'll outlast cheap store-bought kits.
🪴 Step 1: Choose and Prepare Your Base Materials
For a 4-foot by 8-foot bed (the perfect size for most gardens), you'll need four untreated cedar 2x6 boards (each 8 feet long) or six 2x6 boards (each 4 feet long) if you prefer a smaller 4x4 design. Cedar resists rot naturally, but if it's too expensive, pressure-treated lumber works too—just avoid boards with chemical smells. Cut the boards to your desired height (typically 10-12 inches for good drainage and root space).
Before assembly, inspect each board for warping or cracks. A slight bow is fine, but deep splits will weaken the structure. Sand any rough edges with 80-grit sandpaper—this prevents splinters and makes handling easier. Lay the boards flat in your work area and arrange them in a rectangle, leaving ½-inch gaps between corners for drainage and flexibility as wood expands.
🌱 Step 2: Assemble the Frame with Corner Stakes
Start by attaching the corner stakes first. Use 2½-inch exterior wood screws to secure 4x4-inch wooden posts (cut to 12 inches tall) into each corner. These stakes anchor the bed to the ground and prevent shifting. Pre-drill ¼-inch holes in the posts and boards to avoid splitting. Drive the stakes 6-8 inches deep into the soil—this keeps the bed stable even in wind.
Now connect the boards with 2½-inch deck screws (not nails—they pull out over time). Space screws 12 inches apart along each board for maximum strength. For extra reinforcement, add diagonal braces (cut from leftover 2x4s) inside the frame before closing the top. This turns your simple rectangle into a rigid structure that won’t sag under soil weight.
☀️ Step 3: Fill and Layer for Long-Term Soil Health
Line the bottom with cardboard (no tape or glossy paper—just plain brown cardboard) to block weeds. Wet it first so it sinks slightly and stays put. Then add a 4-inch layer of coarse wood chips or straw for drainage. This prevents waterlogging and gives roots room to spread before hitting compacted ground. For a 4x8-foot bed, you’ll need about 1 cubic yard of this material.
Next, fill the remaining space with a mix of topsoil and compost. Use equal parts garden soil and compost (about 2 cubic yards total for a full bed). Avoid cheap "topsoil" from big-box stores—it’s often just clay. Instead, blend high-quality potting mix with well-rotted compost for the best nutrient base. Water the layers lightly as you go to settle everything without compacting.
✂️ Step 4: Add Finishing Touches for Longevity
Top off the bed with a 1-inch layer of mulch (straw or shredded leaves work best) to retain moisture and suppress weeds. This also protects the soil from crusting when it rains. For a 4x8-foot bed, you’ll need about 2 bags of mulch. Leave a 2-inch border around the inside edge—this keeps soil contained and prevents erosion when you water.
Finally, consider adding landscape fabric over the cardboard if you’re in a high-weed area. Cut it to fit snugly, then tuck the edges under the soil. This extra step saves hours of weeding later. Water the bed deeply after filling to help the layers settle. You’ll know it’s right when water drains out the bottom within 15-30 minutes—no puddling, just even moisture.
Tips & tricks for perfect budget-friendly raised flower beds
These simple strategies will help you build a raised bed that lasts for years without breaking the bank.
Material Savings: If cedar is too expensive, consider using reclaimed wood from pallets or old fences—just make sure to sand it thoroughly and treat it with a non-toxic wood preservative if needed. I've built sturdy beds using pallet wood that lasted just as long as cedar, saving me over $50 per project. Look for straight, clean boards without major cracks or rot.
Assembly Efficiency: When attaching the corner stakes in Step 2, use a power drill with a countersink bit to create small divots where screws meet the wood. This prevents the screws from popping out over time and gives your bed a cleaner look. I learned this trick after my first bed's screws started backing out in windy conditions—now my beds stay perfectly square for years.
Soil Mix Secret: For Step 3, instead of buying expensive potting mix, blend your own by combining equal parts garden soil, compost, and a handful of perlite or coarse sand. This creates better drainage while keeping costs low. I've saved nearly 40% by making my own mix, and my plants thrive just as well. Just avoid clay-heavy soils that can compact and suffocate roots.
Drainage Check: After filling your bed, do the 15-30 minute drainage test mentioned in Step 4—but also check for even moisture distribution. If water pools in one corner, it means your cardboard or landscape fabric isn't properly placed. This simple check prevents root rot and ensures your plants get consistent watering. I've fixed multiple beds by adjusting the fabric placement after noticing uneven drainage.
Pro Tips for Cheap Raised Flower Beds
- These simple strategies will help you build a raised bed that lasts for years without breaking the bank.
- Material Savings: If cedar is too expensive, consider using reclaimed wood from pallets or old fences—just make sure to sand it thoroughly and treat it with a non-toxic wood preservative if needed.
- Assembly Efficiency: When attaching the corner stakes in Step 2, use a power drill with a countersink bit to create small divots where screws meet the wood.
Frequently asked questions
Got questions about building cheap raised flower beds? You’re not alone! Here are answers to the most common queries to help you plan like a pro.
What’s the cheapest way to build a raised flower bed?
Use repurposed materials like untreated wood pallets, cinder blocks, or even old bricks. Skip soil—fill with a mix of yard waste, compost, and straw for free or low-cost organic matter. Check local listings (Craigslist, Facebook Marketplace) for free wood or bricks!
When is the best time to build a raised flower bed?
Spring or early fall is ideal—soil is workable, and plants thrive with 6–8 weeks of growing time before frost. Avoid winter (freezing ground) or peak summer (drought stress). Pro tip: Build in late winter if using untreated wood to let it dry and season!
Can I use pressure-treated wood for raised beds?
Yes, but choose older (pre-2004) CCA-treated wood or modern ACQ-treated lumber (check labels). Avoid fresh pressure-treated wood—chemicals can leach into soil. Line the bed with landscape fabric as a barrier for extra safety.
How do I keep weeds from growing in my cheap raised bed?
Layer cardboard or newspaper at the bottom (avoid glossy paper), then add mulch (straw, leaves, or wood chips) on top. Weed-block fabric is another budget-friendly option. Pro tip: Plant dense ground covers like clover or creeping thyme to outcompete weeds naturally!
What if my raised bed collapses or leans?
Check for uneven ground or rotting wood—level the base with gravel or compacted soil. Reinforce corners with metal brackets or extra stakes. For cinder block beds, ensure blocks are mortared or glued (not just stacked). A 45-degree angle brace can add stability to wobbly pallet beds.
Wrapping up and next steps
Creating cheap raised flower beds is a game-changer for gardeners on a budget—it’s simple, sustainable, and packed with rewards! 🌸 With just a few materials and a little creativity, you’ve got a stylish, long-lasting planter that keeps weeds out, improves drainage, and makes gardening a breeze.
Whether you’re a beginner or a seasoned pro, this project proves that affordable doesn’t mean sacrificing quality.
Ready to transform your garden? Grab your tools, pick your favorite plants, and get growing! Start small with one bed, then expand as your confidence (and green thumb!) grows. Happy planting! 🌱